
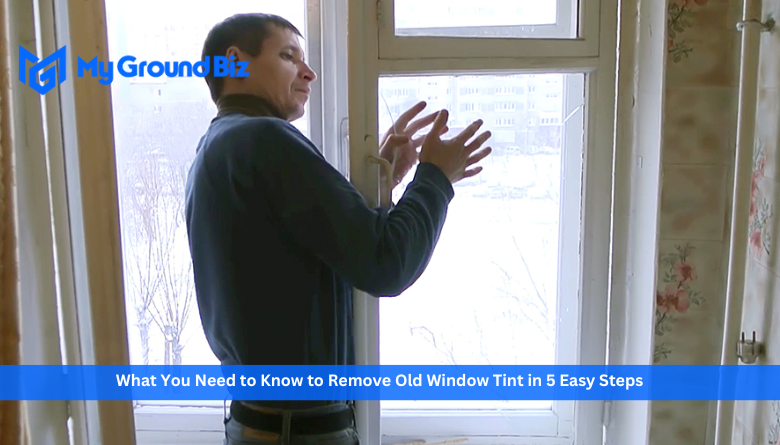
Old window tint removal is a pain, but it’s doable with the correct equipment and methods. Here is a detailed explanation on how to remove old window tint in five easy steps, perfect for home renovations or just wanting to update the look of your windows. You may successfully remove old window tint and restore their clean, clear appearance by following these five procedures and some extra advice. But if you are not sure about doing it, better leave it at the hands of https://www.handymansingapore.net/window-tinting-removal-service/ and have peace of mind.
Step 1: Collect All Necessary Items
Before you begin, make sure you have everything you’ll need. This is what you must have:
- Razor blades or utility knives can be used to scrape off adhesive residue and lift the tint edges.
- Fill a spray bottle with either soapy water or an adhesive remover sold in stores.
- Use a hairdryer or heat gun to weaken the adhesive and facilitate pigment removal.
- A scraper or putty knife can be used to delicately remove the tint and any leftover residue.
- Use a clean cloth or paper towel to wipe down the window and remove any dust or dirt.
- To eliminate any lingering adhesive residue, use rubbing alcohol or glass cleaner.
- Wear protective gear, such as gloves and goggles, when working with chemicals or sharp objects.
Step 2: Prepare the Area
To make the operation easier and cleaner, prepare the space surrounding the window. To capture any dust or adhesive residue, lay down some old newspapers or a drop cloth. Some adhesive removers contain strong scents, so open the window for ventilation. If you plan on using a hairdryer or heat gun, make sure they are connected to an electrical outlet. https://www.handymansingapore.net/ can perform the task much more easily and without any mistakes because of their extensive knowledge.
Step 3: Soften the Adhesive
To gently heat the window tint, use a heat gun or hair dryer. Distribute the heat uniformly across the surface while holding it a few inches from the window. Be careful not to heat the window to the point that it cracks or breaks; this is particularly true of vinyl or plastic windows. Loosening the adhesive and making removal easier is the goal of heating the tint.
Step 4: Peel off the Tint
Lift the window tint’s edge with a razor blade or utility knife when the adhesive has loosened. Peel the tint back slowly and gently, making sure it is as flat as possible to avoid tearing. Extra heat or a scraper or putty knife can be used to delicately remove the tint off the window if it remains persistent.
Step 5: Remove Residue and Clean the Window
You might find that the window still has adhesive residue on it after you remove the tint. To soften the residue, spray it with soapy water or adhesive remover and wait a few minutes. A putty knife or scraper can be used to delicately remove the leftover material. If the residue is still too strong, try again or dissolve the glue entirely using glass cleaner or rubbing alcohol. To finish, use a dry cloth or paper towel to wash the window down, removing any leftover residue. This will ensure that the window is clean and clear of stains.
Additional Tips:
- Be cautious not to break the window or any nearby surfaces by moving slowly and cautiously.
- Use a commercial adhesive remover made for window tint removal if you come across adhesive residue that is difficult to remove.
- Wear protective gear, including gloves and goggles, whenever you handle chemicals or sharp objects.
- Properly dispose of the tint and any adhesive residue that has been removed in accordance with the requirements in your area.
- If you want more privacy, less glare, and better energy efficiency, you might want to think about putting new window tint after you take the old one off.


