


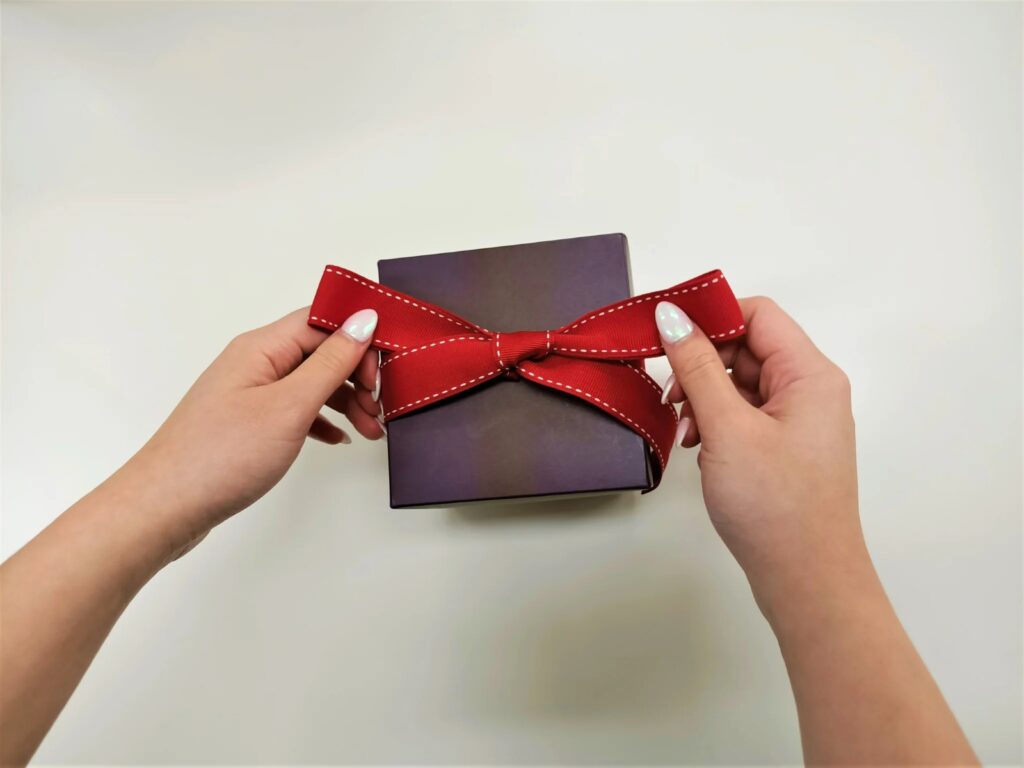
Gift wrapping is an art form that can transform even the simplest present into something special. The key to a perfectly wrapped gift often lies in the details, and one of those important details is the ribbon. Whether you’re aiming for a simple bow or an elaborate creation, knowing how to measure the correct length of ribbon is essential for achieving a polished look. Misjudging the amount of ribbon can lead to waste, or worse, not having enough to complete your design.
At PackAQ, we provide a range of printed ribbons that can be personalized for any occasion, along with other accessories to elevate your gift wrapping experience. In this guide, we’ll walk you through how to measure ribbon for different gift-wrapping styles to ensure your gifts always look stunning.
1. Why Measuring Ribbon Matters
Before diving into the how-to, it’s important to understand why measuring your ribbon is such a crucial step in the gift-wrapping process.
a. Avoid Waste
Ribbons can be expensive, especially high-quality or custom printed ribbons like the ones offered at PackAQ. Properly measuring your ribbon helps ensure that you don’t end up cutting too much and wasting valuable material. On the other hand, cutting too little can leave you with awkward short ends that won’t allow for a complete bow or proper wrapping.
b. Achieve a Professional Look
The right length of ribbon will give your gift a clean, balanced, and professional appearance. Too much ribbon can look bulky and overwhelming, while too little can seem incomplete or hurried. Properly measured ribbon ensures your bows are perfectly proportioned and your wrapping looks intentional and polished.
c. Consistency Across Multiple Gifts
If you’re wrapping multiple gifts for an event like a wedding or corporate party, consistency is key. Measuring your ribbon ensures that every gift is wrapped in the same style, with bows and tails that are uniform across the board. This is especially important for professional and corporate gifting, where attention to detail can reflect well on your brand.
2. Materials You Will Need
Before you start measuring your ribbon, it’s important to gather the necessary tools. Here’s what you’ll need:
- Ribbon: Choose a ribbon that matches your gift and occasion. PackAQ offers a variety of ribbons, including custom printed ribbons that add a personalized touch to your gift wrapping.
- Measuring Tape or Ruler: This will help you get the exact length of ribbon needed.
- Scissors: Ensure they are sharp for clean cuts.
- Gift Box or Bag: You’ll be wrapping your ribbon around this, so have it handy.
- Tape or Glue Dots (optional): To secure the ribbon in place.
3. How to Measure Ribbon for Different Gift-Wrapping Styles
The amount of ribbon you need depends on the wrapping style you choose. Below, we’ll cover three common ways to wrap gifts with ribbon, each with its own ribbon measurement technique.
a. Single Ribbon Around the Box
For a simple yet elegant presentation, wrapping a single ribbon horizontally or vertically around your gift box is an excellent choice. Here’s how to measure the ribbon for this style:
- Measure the Box: Begin by measuring the width or length of your gift box (depending on whether you want the ribbon to go horizontally or vertically).
- Double the Measurement: Multiply the measurement by two to cover both the front and the back of the box.
- Add Extra Length for the Bow: If you plan on tying a simple bow, add an additional 12–18 inches to this measurement. For a larger or more intricate bow, add an extra 24–30 inches.
- Final Length: Combine the doubled measurement with the extra length for the bow to get your final ribbon length.
Example:
If your gift box is 10 inches wide and you want to wrap the ribbon horizontally, you’ll need 20 inches to cover the box (front and back). Add 18 inches for the bow, giving you a total of 38 inches of ribbon.
b. Cross-Wrap (Two Ribbons)
The cross-wrap style adds a bit more flair by wrapping the ribbon both horizontally and vertically around the gift, forming a cross. This style is great for larger gifts and can be easily customized with different ribbon types.
- Measure the Length and Width of the Box: Measure both the length and width of your gift box.
- Double Both Measurements: Double each measurement to account for both the front and back of the box.
- Add Extra for the Bow: Just like with the single ribbon wrap, add an additional 18–30 inches of ribbon depending on the size of the bow you plan to make.
- Final Length: Add all the measurements together (doubled length, doubled width, and extra bow length) to get your final ribbon length.
Example:
If your box is 12 inches long and 8 inches wide, you’ll need 24 inches to cover the length (front and back) and 16 inches to cover the width (front and back). Adding 18 inches for the bow gives you a total of 58 inches of ribbon.
c. Multi-Loop Bow with Tails
If you’re aiming for a more elaborate look with a multi-loop bow, you’ll need to account for the additional length required to create each loop and the long tails that drape down from the bow.
- Measure the Box: Measure the box just like in the single or cross-wrap style, depending on how you plan to position the ribbon.
- Add Length for Each Loop: For a multi-loop bow, each loop will require approximately 8–12 inches of ribbon. Decide how many loops you want in your bow (typically 3–5 loops on each side is ideal) and multiply that by the length of each loop.
- Add Extra for Tails: Tails should be proportional to the size of the gift. Add at least 6–12 inches for each tail, depending on the desired length.
- Final Length: Combine the box measurement, loop length, and tail length for your total ribbon requirement.
Example:
If you’re wrapping a box that is 10 inches wide and want a 4-loop bow, each loop measuring 10 inches, you’ll need 80 inches for the loops. Add 24 inches for the tails and 20 inches for the box, giving you a total of 124 inches of ribbon.
4. Tips for Measuring Ribbon Accurately
To make sure you always have the right amount of ribbon without any waste, here are some expert tips for measuring:
- Use a Measuring Tape: A flexible measuring tape is ideal for wrapping around the gift to get an accurate length. If you don’t have one, a ruler works as well, though it might take more effort for larger gifts.
- Cut Extra Ribbon for Adjustments: It’s always better to have a little extra ribbon than too little. Cut an additional 2–3 inches if you’re unsure, especially if you’re planning on making a large bow.
- Pre-Measure for Multiple Gifts: If you’re wrapping several gifts of the same size, measure the ribbon for one gift, then use that measurement to pre-cut ribbon for the rest. This will save time and ensure consistency.
5. Customizing Your Ribbon with PackAQ
While mastering the art of ribbon measurement is important, adding a personal touch with customized ribbons can make your gift truly stand out. At PackAQ, we offer printed ribbons that can be customized with logos, names, or special messages, making them perfect for corporate gifts, weddings, and special occasions. Pair your perfectly measured ribbon with our high-quality wrapping options to create a gift that’s both beautiful and personal.
Knowing how to measure ribbon for gift wrapping is essential for achieving a professional, polished look. Whether you’re using a simple single ribbon or creating an intricate multi-loop bow, understanding how much ribbon to use ensures your gifts always look well-crafted and thoughtful.
At PackAQ, we’re dedicated to helping you create memorable and beautifully wrapped gifts. Explore our wide selection of printed ribbons and accessories to add the perfect finishing touch to your gifts. Start wrapping your presents with precision today!